Waka's Raspberry Pi - An Adventure Begins
It has been over a year since curiosity got the best of me and I purchased a Raspberry Pi. And how could I not? At less than $50, you get a little computer, complete with an ethernet jack, HDMI out, and a couple of USB ports to boot, all running off of a 5V 1A micro USB charger. I had about a dozen of those chargers lying around unused, since day-to-day charging of my phone, Kindle, etc really only required one or two in circulation.
So, I ordered a Raspberry Pi. And boy was I excited! I dreamed of connecting the ethernet ports already wired through my apartment's walls and turning them into my own version of Stark's JARVIS. When the Pi arrived, though, there were difficulties. It turned out the SD card was DOA, and so my Pi was shelved, one operating system short.
I've since moved out of that wired up apartment (and in with my SO, which I would consider a very worthwhile trade), but I still get that tingly sensation when I think of smartening my living quarters with some custom tech. The new apartment tends to hold pockets of uncomfortable heat as well, so the low power usage of the Pi is incredibly appealing.
And so, the Pi came off the shelf and back into the workshop (read: corner of my desk). I'm still not sure entirely what I am going to build with the Pi (perhaps something music related), but I am happy to say that I managed to get it primed and ready for development. Here's the rundown of the setup process.
The SD Card and Operating System
As I dove back into this, I was optimistic that I could get things working, but I really didn't know exactly what had gone wrong the first time around. Possible scapegoats were the SD card, fluctuating power from a weak charger, or maybe even a hardware issue on the Pi itself. The first step was to debug the SD card.
I don't use SD cards for anything, really, so I wasn't sure how to debug it. Neither my work laptop or home PC could read them, and I didn't have any customized reader on hand. But, on a stroke of luck, my SO's laptop (an older Macbook) actually had a slot to read it! Strange that the ports change so much between generations on those. Anyways, the laptop didn't recognize the card, but it was reading others fine. I guess the original SD card was dead all along.
This is where I opened up my Amazon cart and starting dropping things in. I decided not to bother getting a blank card and writing the OS image manually, so the first item in my card was the NOOBS SD card. I also added a four port powered USB hub and a case for the Pi.
The NOOBS card was really great. Disk images and bootable media have always been a real source of pain for me. This card removes all of the worry by packing several Linux distros right there for you to pick from. No messing around with disk partitions or boot flags. Just plug in a keyboard, scroll down to your choice OS, and go. I went with Arch Linux, to match my PC.
Lesson: Don't give yourself unnecessary hardship before you even start.
With Little Power Comes Great Responsibility
At this point, I could boot up the Pi and log in as root. Awesome! Next stop, Wifi. I wasn't planning on keeping this within close proximity to the router, so getting a USB Wifi dongle configured was my top priority. I started reading up on netctl and interfaces and...
Keyboard is dead.
Unplug it, plug it back in. Nothing. Reboot the Pi. Nothing. sigh Nothing. (Okay, I didn't really expect that to work.) Switching USB ports worked, for a while. Then the second would go down and the first would work again. Something weird was going on.
It turns out that both USB and the Pi itself have mechanisms in place to limit the current flowing through them. This can make things like USB keyboards and Wifi dongles stop working, but on the bright side, the device doesn't catch fire and burn down the surrounding domecile. It's a trade-off. The trick is, these mechanisms (called polyfuses) don't clear right away. You have to set them down, walk away, and come back hours or days later.
It took me a lot of trial and error to get a reliable power situation running, where devices had enough consistent electricity without driving the current up to the point of killing the Pi. It looks something like this:
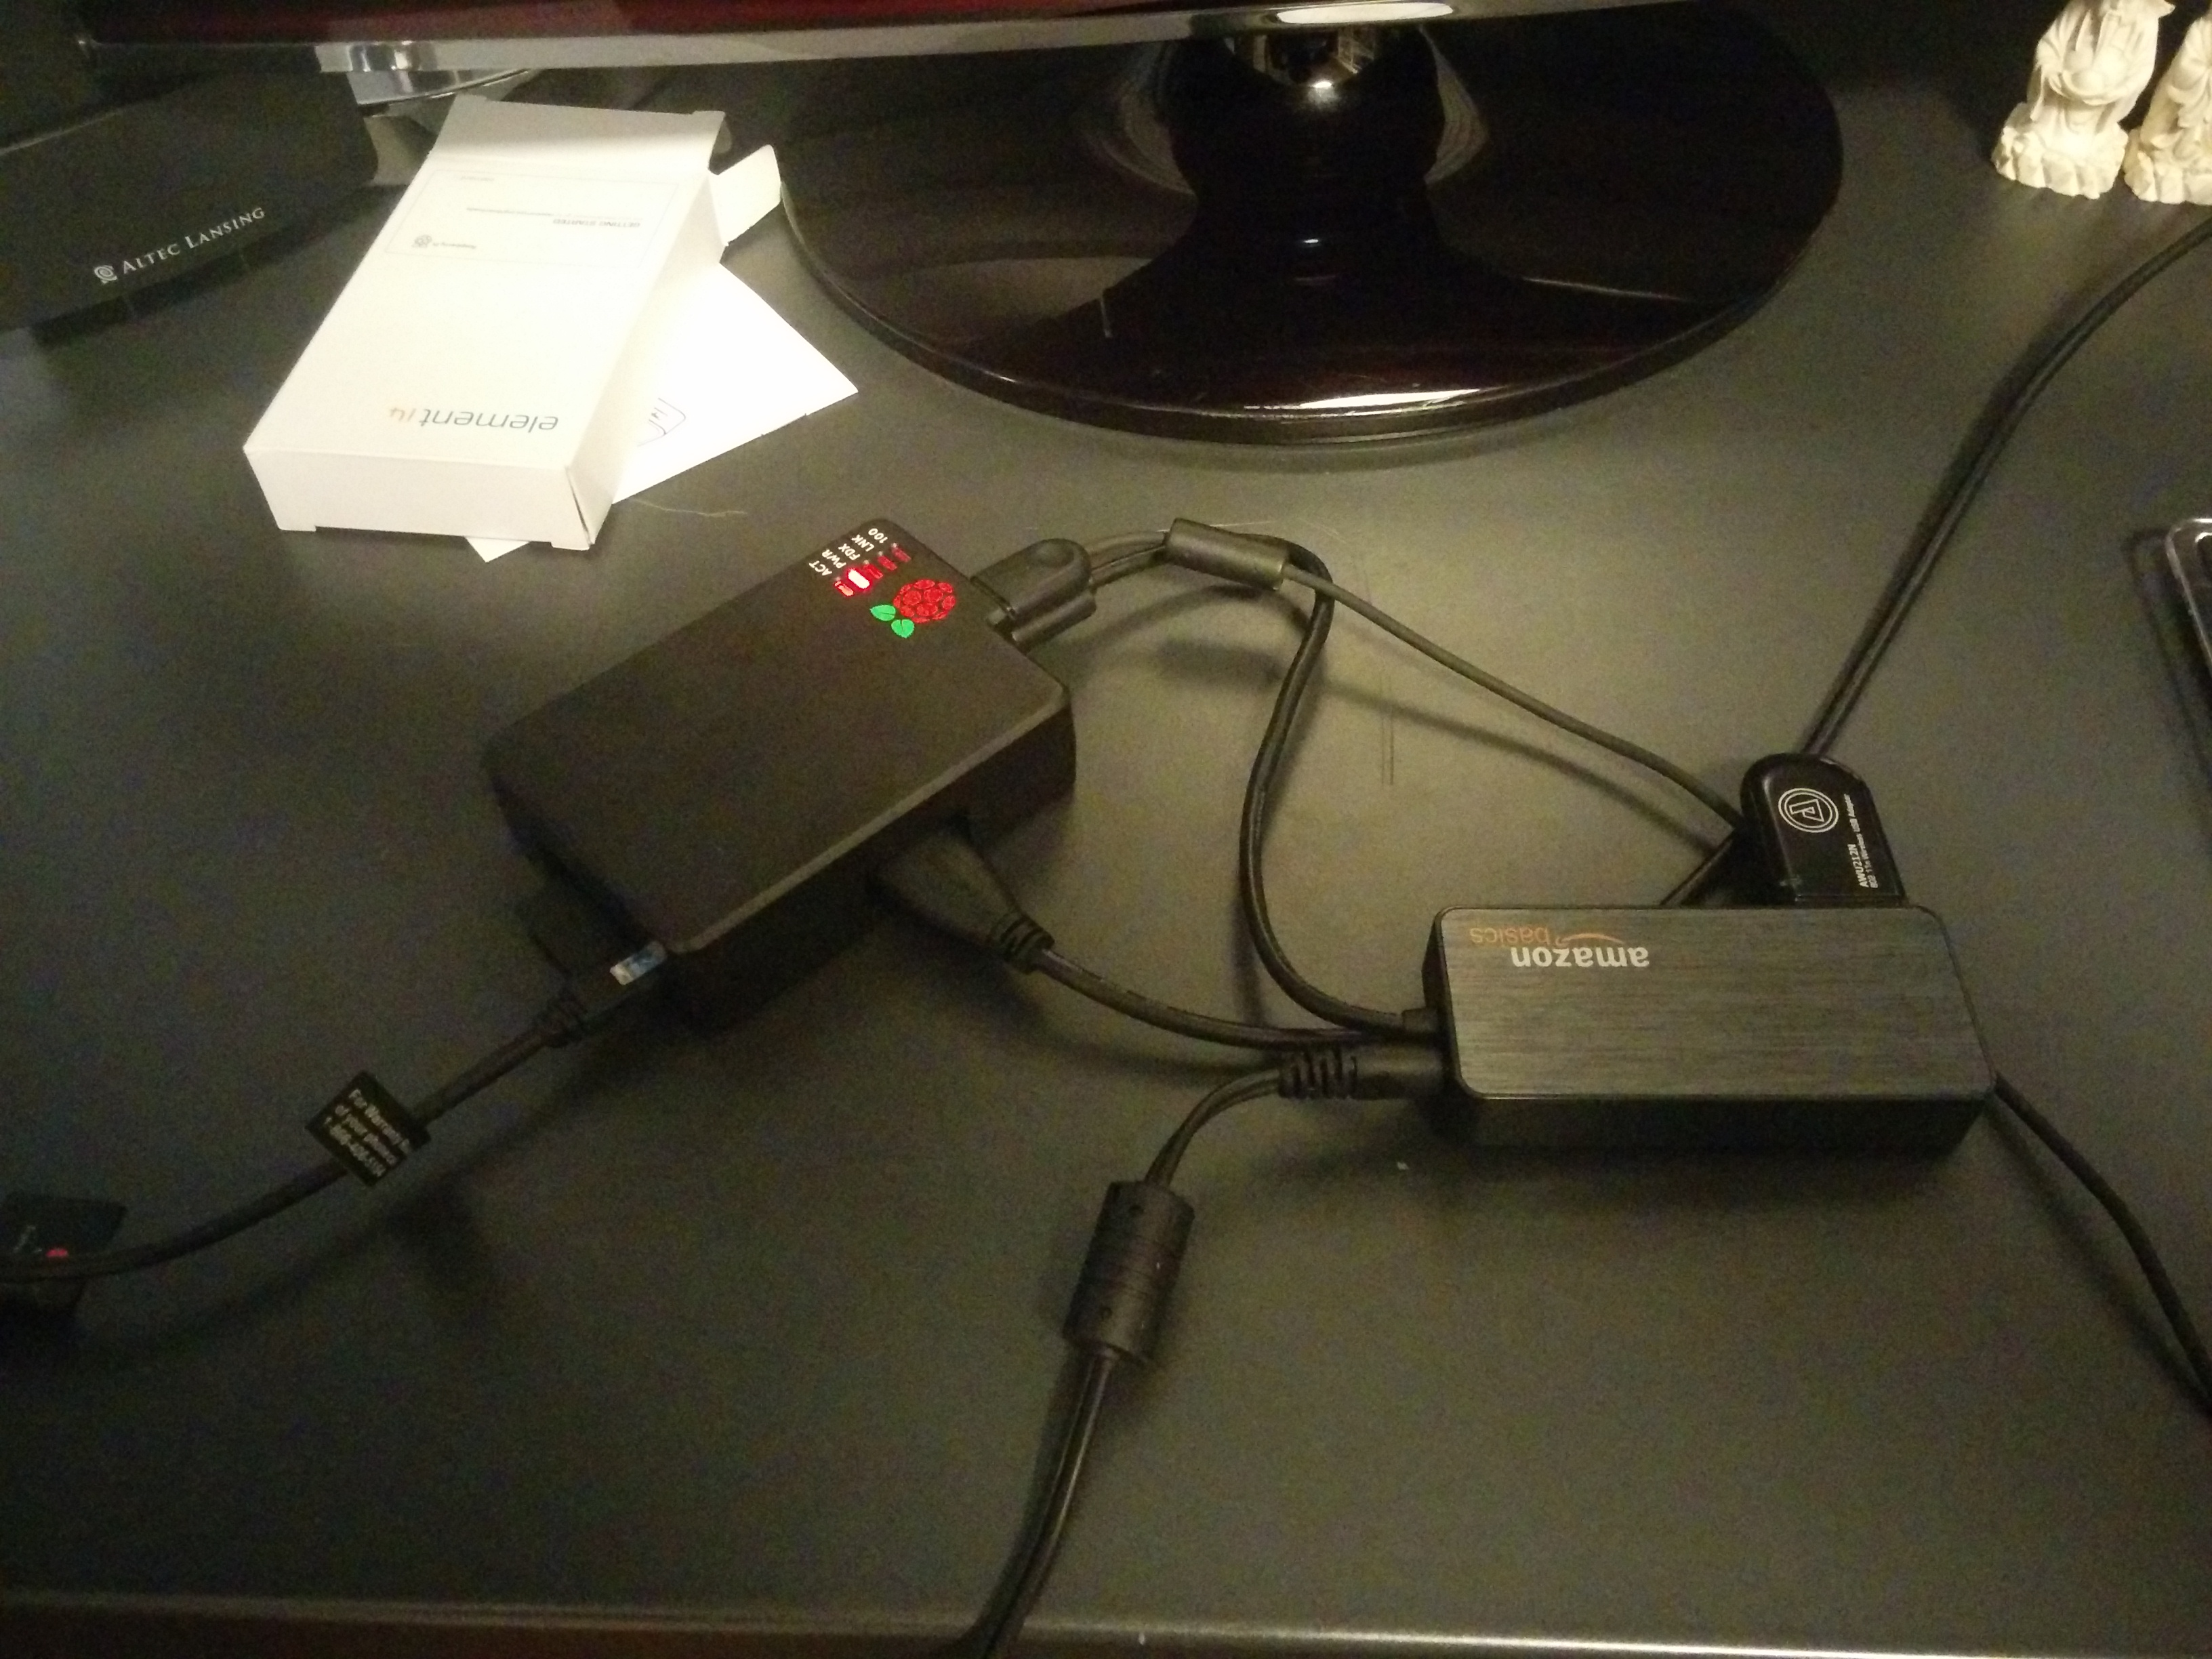
The power cable coming into the Pi is slightly better than your average phone charger, supplying 1.2 Amps at 5V. This gives a little flexibility for powering the Pi itself and any device connected directly to it. In this case, that's the keyboard (the HDMI monitor has its own power, and the other USB goes to the powered hub).
The USB hub from Amazon manages the power for the USB dongle, as well as other USB devices I plan to connect (like an external hard drive). It supplies 2.5 Amps, which is more than enough for the Wifi dongle. I haven't tried the external drive yet, so this may take more tweaking.
As an aside, don't try to power the Pi from the hub. I did this, thinking it could draw from the hub's excess power while still looking at the other devices on the hub. Instead, it dropped into a hard reboot cycle that I'm surprised didn't cause significant corruption to the SD card.
Lesson: Power is finicky when there isn't much of it.
To the Internet!
Okay, Wifi for real this time. Once I had the power set up properly, Wifi was a lot easier to get going. It turns out that most of my problems were caused by the dongle not having power and becoming unreachable. Those went away, and the packets flowed.
Along the way, though, I had a fair share of netctl errors. Tracking them down was tricky, as the system time would reset to 1969 each time the Pi booted. Logs were buried and debug information was hard to come by. I found myself manually setting the time to January 2014, and stepping forward a day each time the system booted.
Once the time was temporarily fixed, I managed to get to the Internet. That let me use NTP to get the real time. The last step was setting them both to happen on startup with systemctl. Everything went pretty smoothly from there.
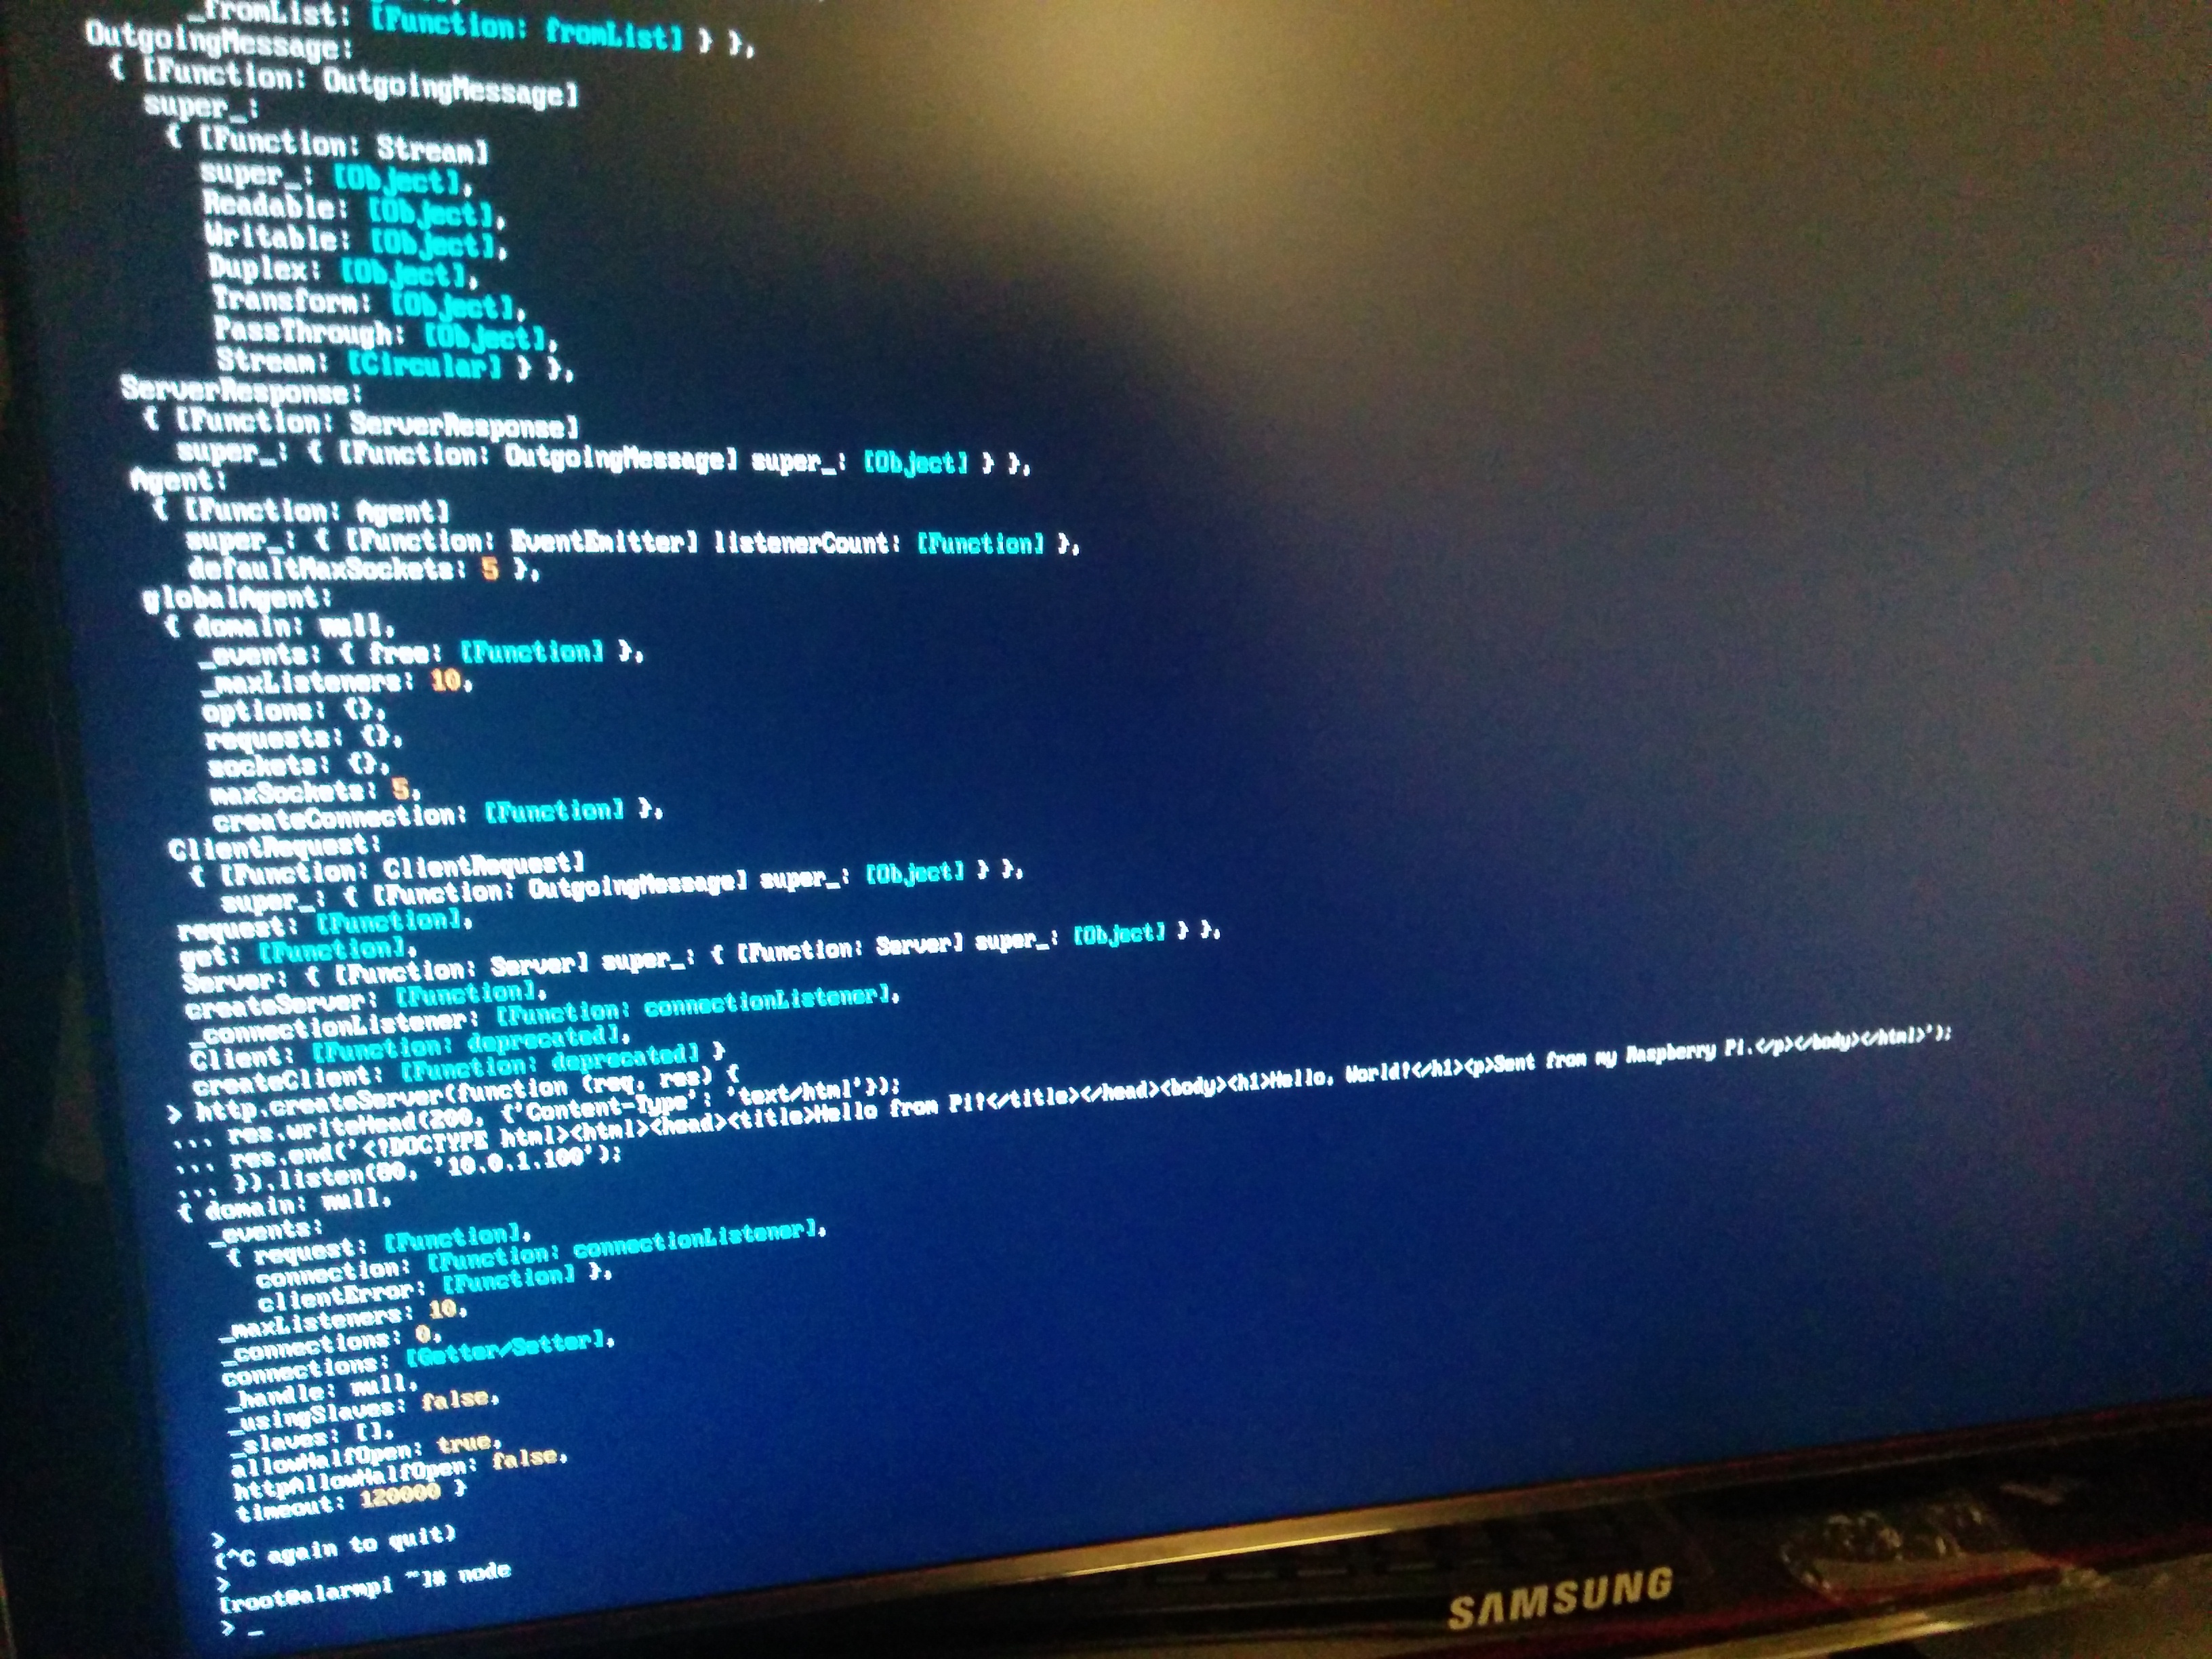
One system update and a few pacman installs later, I have a working system. It even runs Node:
Next Stop, Adventure!
Now that the basic system is set up, I'm stoked to get something real up and running. The sky is the limit, and there's not a butt in sight.
Cheers!